Denim Crazy!
I've always loved anything blue, and I love denim. I think its so sad that all those lovely topstitching and pockets and bits have to go into the trash, once your trusty pair of jeans has gone through its life cycle.
I started saving all my denims, shirts too, and the kids added to my stash as they outgrew their clothes. I had no idea what I wanted to do with it, until one day....
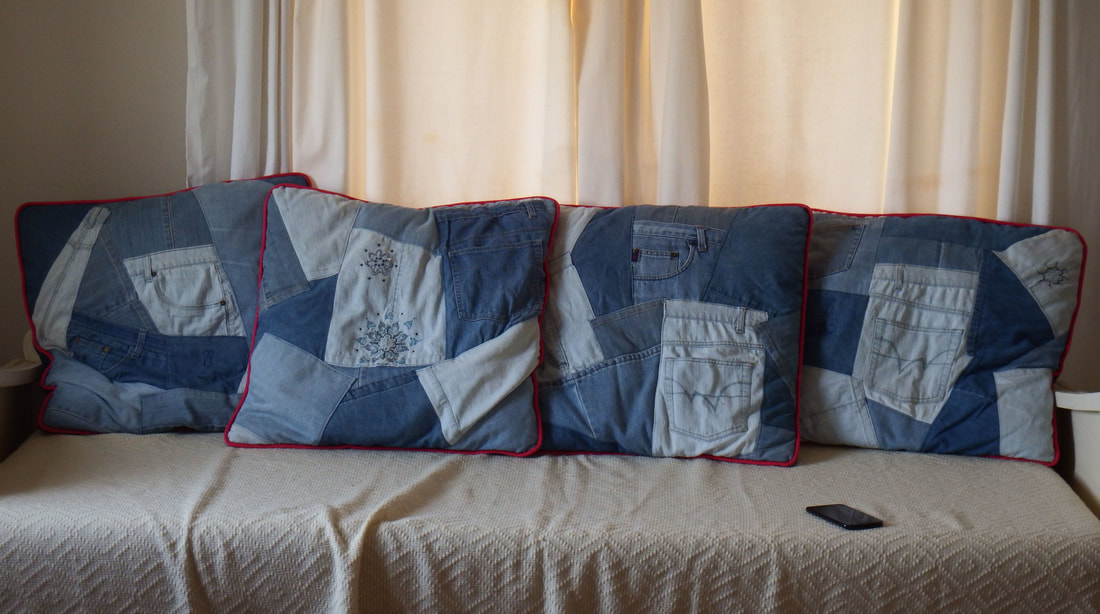
I had a few nice big cushions at our holiday home, that needed covers. I had no intention spending my hard-earned money on expensive fabrics. It had to be durable, inexpensive, but pretty too. I love pretty. :-) People sometimes sit down with damp, sandy bums, so it had to be washable. I thought of my denim stash, and had an Aha! moment.
I bought some plain denim for the backs, made piping from contrast fabric, and started cutting up my stash. This is how I did it:
1. Cut a plain piece of calico (pre-washed), a little bit bigger than the intended size of the cover. It will be trimmed down in the end. This is for the front.
2. Now start in the middle with an interesting piece. Look for nice topstitching, zips, pockets, etc. Pin the piece to the background, and stitch around it with your sewing machine.
Important: Use a Jeans needle in your machine, and a walking foot if you have one. I did mine without one, but it would have helped a lot if I had one at the time. Stitch slowly over thick seams, and use a longer stitch length. If you go too fast, you will break a few needles.
3. I did it almost like you would do a log cabin patchwork block, but I suppose in this case it would be a crazy log cabin! The idea is to cover the raw edges of the previous patch with the next patch. So if you do the second patch, put it right sides together, stitch, and fold the second patch back. Press. You carry on like this, until you have covered the whole calico block. Don't trim it down now, you will do that later.
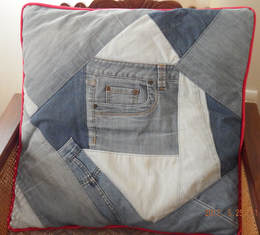
Of course you don't need to cover the edges of the different pieces. You can leave it raw, and unravel it a bit. If you use pieces like the waist band, or the seamed bottom of the leg, you can just topstitch it to the background, as there are no raw edges. There is no right or wrong method, this is just how I did it.
4. You can do the back with a zipper, or tie bands, or just overlap the 2 pieces. Complete your back, and make sure its the right size. (Size of cushion, plus seam allowances all around).
5. Put the back piece on top of your patchwork front, and trim the front to the same size.
6. Pin your piping to the front, around the edges, and stitch with your machine's zipper foot.
7. Put the back on the front piece, right sides together. Stitch around the outside edges, using your zipper foot. Clip corners, and turn it right side out.
****
Remember to open the zipper of the back before you stitch around the edges, or you won't be able to turn it right side out.
****
More tips:
Before using the front of your jeans in a project, open the zipper, and cut it out with small, sharp scissors. Now stitch the opening close, stitching on the edge of the opening. This will reduce bulk.
When using pockets, you don't have to stitch it close, especially smaller pockets. I have found though that hip pockets tend to flare open a bit, I suppose because they are bigger. I just topstitch them close then, again near the edge of the pocket.
The best denim to use are those that aren't too stretchy. If you use stretch denim, use smaller pieces, or use lots of top-stitching to control it.
Denim jeans are rarely unsuitable to use, even if they've been downgraded to gardening duty a long time ago. Throw away the worn bits, and keep the interesting bits, even if its faded.
|
|
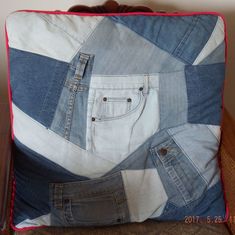
Pencil Case
Here I have used some leftover denim bits to make a pencil case for my daughter. She wanted it big enough for a 30cm ruler, with enough space for all the other paraphernalia they carry around. On both ends I used the belt parts of pants, then some elastic waistband sections (minus elastic), and in the centre is a piece of blue lace that was left over from a 1950's evening dress my mother used to wear. On the elasticated bits I removed the elastic, and ironed the fabric. I love the texture and different shades that remain.
The other side of the pencil case is plain denim, and I lined it with navy blue cotton. I used a heavy duty zipper for this project.
The other side of the pencil case is plain denim, and I lined it with navy blue cotton. I used a heavy duty zipper for this project.
Laptop Bag
My daughter needed a bag big enough for her art workbook, and I found this laptop bag pattern. It is McCalls 5824. The main body was made with denim I bought, but for the rest I used leftovers and parts of old denims.
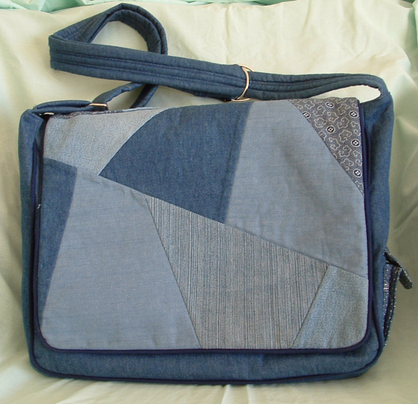
Laptop bag
It is a messenger type bag, with a flap in front. The whole bag is padded, and I made dark blue piping for the edges. Using magnetic clips on the flap would have been better, but I used black Velcro instead, as you don't want magnets near a laptop.
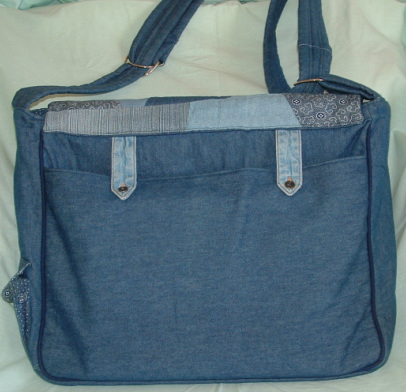
Laptop bag back
The belts on the back came from the sleeves of an old denim shirt.
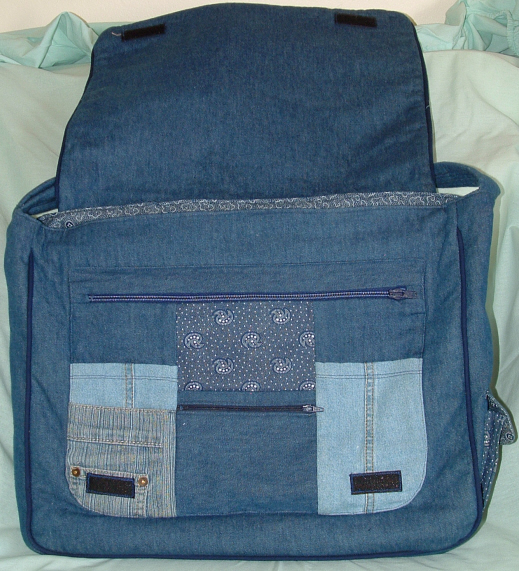
Flap open.
|
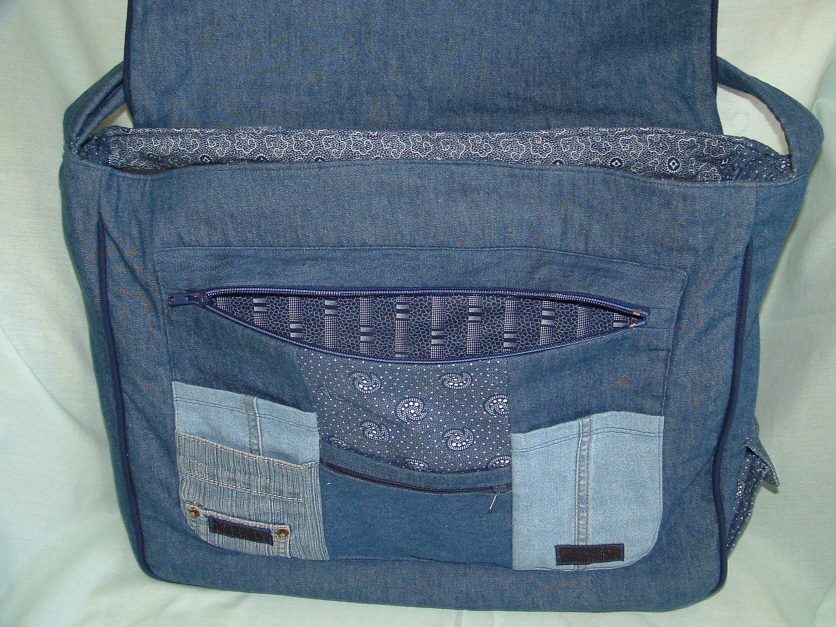
Zipper open, showing contrast.
|
The bag has various little pockets and zipped pockets on the outside front. It also has a bigger zipped pocket with a contrast lining, shown on the right. The whole inside of the bag is lined too, and has another zipped pocket on the inside (not shown).
Laptop sleeve
I made a padded laptop sleeve, lined with blue cotton. It has a fold-over flap with black Velcro.
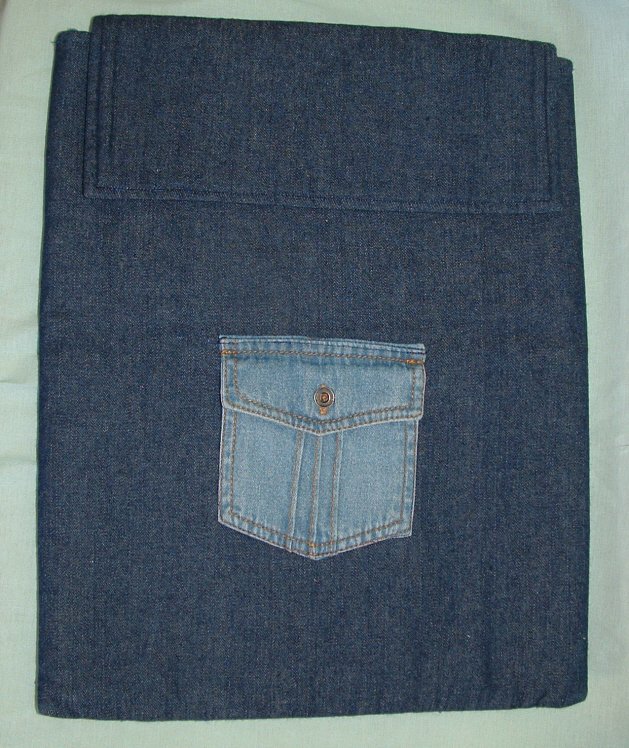
Laptop sleeve front
|
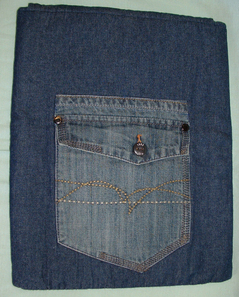
Laptop sleeve back
|
The pocket on the front comes from a denim shirt. The larger pocket on the back is a jeans pocket.
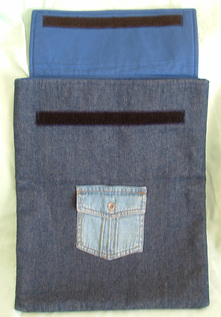
Laptop sleeve open, showing lining.
Quick, easy and cheap!
