Using Das air-dry clay on walls

I was planning to use Paperclay for the interior walls of my cottage project, but I ended up using white Das air-drying clay. I have used it before for my miniatures, when I made the floor tiles of my wine cellar roombox. I was a bit nervous to use it on a big expanse of wall, as I knew it had a tendency to crack as it dries.
I started by rolling it out between two silicone bake sheets, to about 3mm thickness. I then painted wood glue onto the wall, just a thin layer. Cut the clay more or less to size, and place on the wall. Work horizontally if you can, by flipping the box on its back or sides. Press it down with your fingers, and then pounce it lightly with a stencil brush. If you need more texture, you can of course use a flat stone or anything else. Work fast, and have all your equipment ready when you start. It will take a while to dry thoroughly, but the consistency gets “tough” very quickly, which makes it harder to texture. At this stage, you can mark stones or bricks into the clay surface as well, if you prefer.
I tried to use bigger pieces, for a smoother result. To the right of the box, I experimented with pushing separate pieces down and punching it with the stencil brush, but it gives a rougher appearance. Unless that is the look that you’re after, of course. I could experiment a bit, as that part won’t be visible when the front wall goes up. Where pieces had to overlap, I pressed the edges of the pieces thinner, smeared a bit of wood glue on the edge with my finger, and overlapped the new piece onto the glued bit. Press down, and texture with your stencil brush.
The clay will stretch a bit as you texture it, so when you’re done, cut off the excess clay at the edges.
To get a neat edge around the window, I did it in 3 separate pieces (top and sides). I smeared glue on the inside of the frame, and on the edges and walls too. I then cut a straight edge on one side of the clay, the width of frame at the top. I then positioned the straight edge of the clay inside the window frame at the top, pressed down, folded it over towards the wall, neatened the edge, and then proceeded to press it down and texture as described before. It’s easier to add new clay and texture to the wall, than to try and neaten and trim uneven clay inside the window frame. Do the same on the sides of the window frame. I did the bottom separately, as it was underneath the window sill.
So, if you want a neat edge, it saves time to start with a straight edge, if that makes sense! You can of course make a paper template before you start. Just cut the clay a bit smaller, as it will spread out a bit when you texture it.
Now leave it to dry. You should try and do the whole wall at once, but I wanted to see how the wet clay will attach to the dry clay, with the aid of glue, so I decided to let the back wall dry properly before I carried on with the side wall.
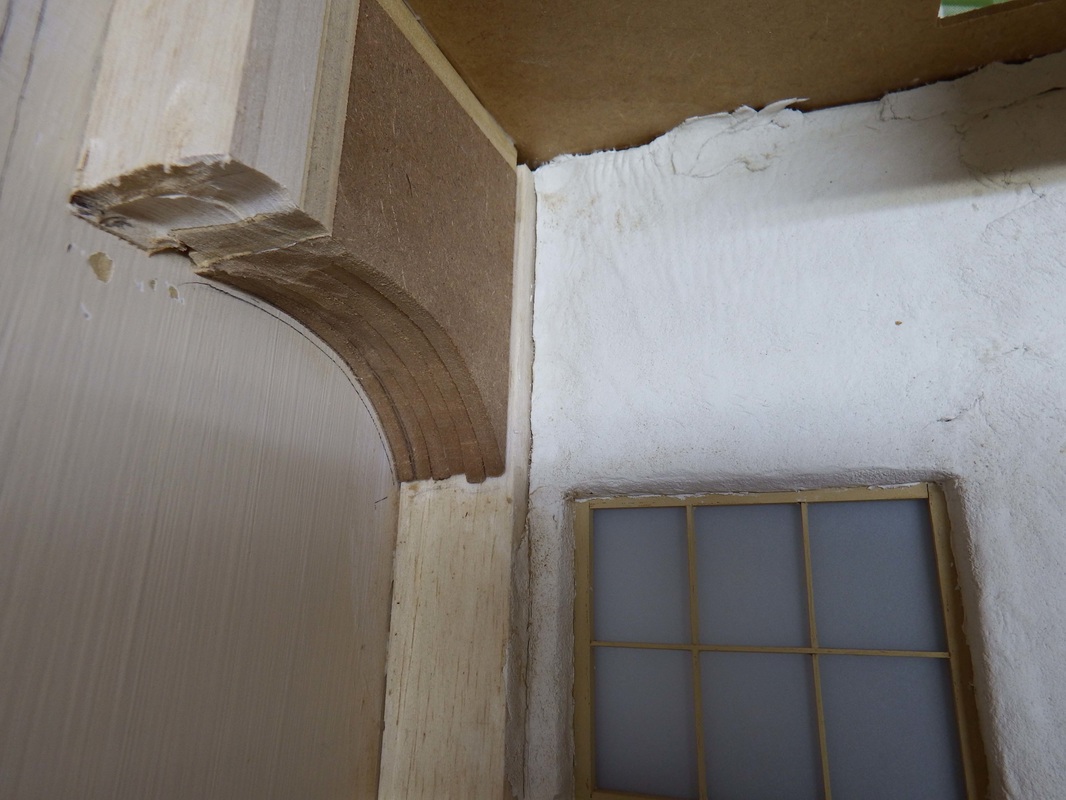
Doing the area around the window.
I did the side wall next. I painted the wall with wood glue, also the edges of the dry Das clay on the back wall, where it will attach to the left wall. I did it in sections, this time getting all the rolled out clay on the wall, before I started with the texturing. I tried to work fast, as the rolled out clay dries very fast.
Left wall done.
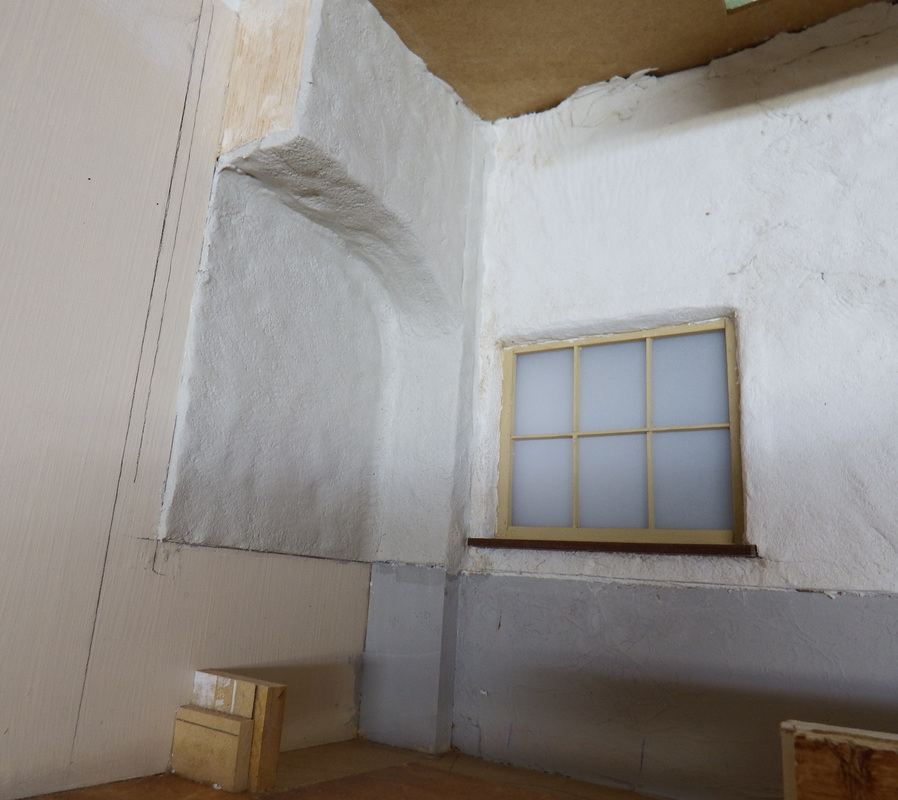
Interesting. No cracks appeared on the sections where the wet and dry clay met. The only crack visible, is underneath the arch, where I suppose I “stretched” the clay when pressing it to the wall. Most of that won’t be visible once the front wall goes up, so I decided to just patch up that bit with some white wood filler.
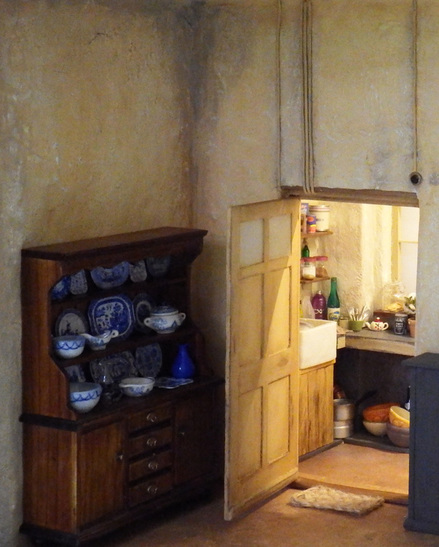
I painted the back wall with Annie Sloan chalk paint (ASCP), first in Old White, and then Old Ochre. I sanded it down a bit. After completing the kitchen at the back, I glued in the front wall.
I painted the back wall with Annie Sloan chalk paint (ASCP), first in Old White, and then Old Ochre. I sanded it down a bit. After completing the kitchen at the back, I glued in the front wall.
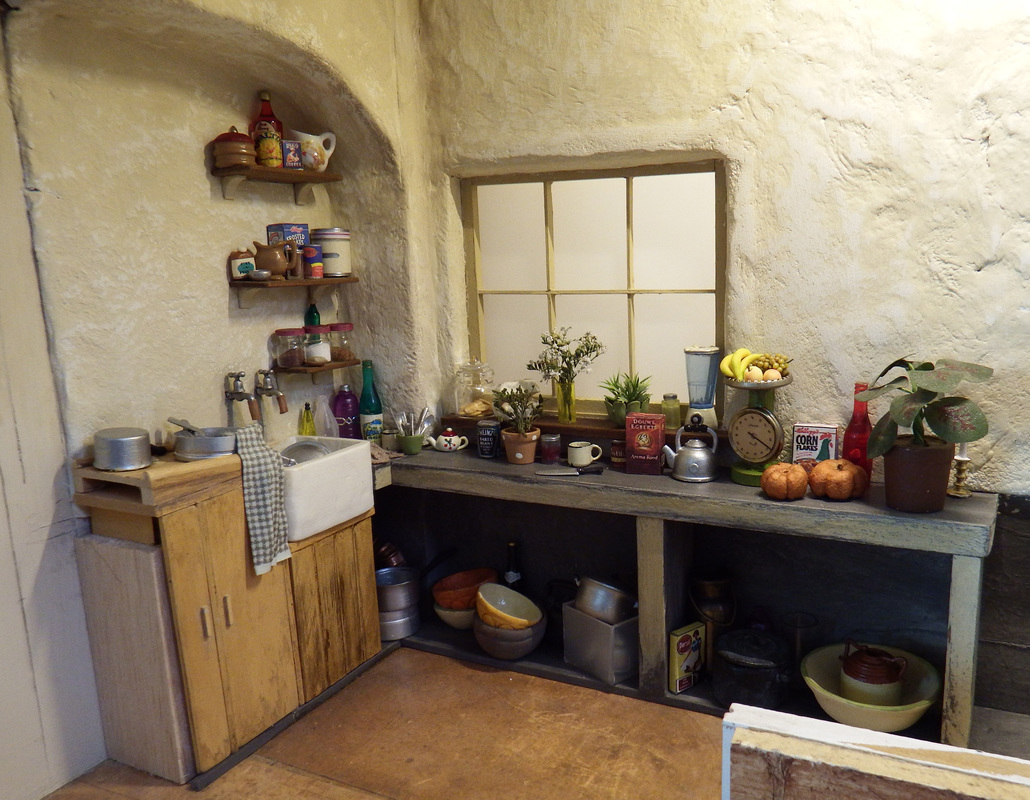
Kitchen is done.
I did the front wall with Das clay, exactly the same way I did the kitchen walls. However, when I was almost done, I ran out of Das. I could only get Jovi air dry clay locally, so I had to use that. What a disappointment! I had to complete the right-hand side of the back wall with it, as well as the wall to the left. Jovi has a much higher moisture content than Das, so the shrinkage is much worse. It was more difficult to texture, as the clay is very soft, and I had to use a different technique to texture the walls. I couldn't texture the walls right away, as I was going right through the clay. I had to wait a while for the clay to start drying, and then tried again. When dry, the wall had huge cracks, although I took care to not stretch the clay when I applied it to the wall.
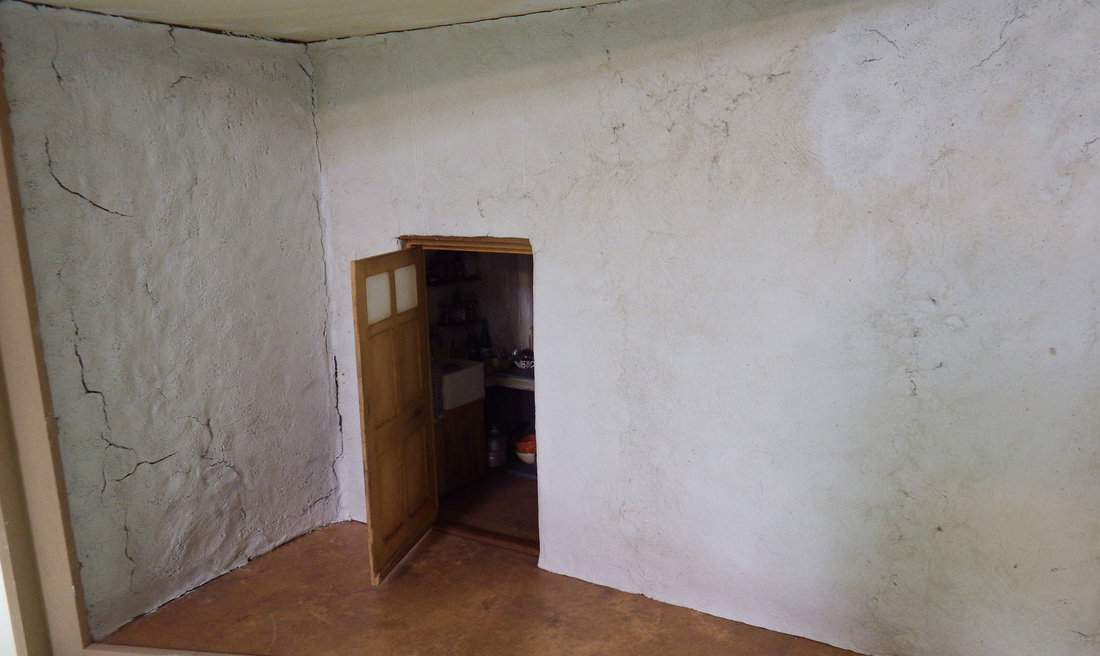
Cracks on left-hand wall.
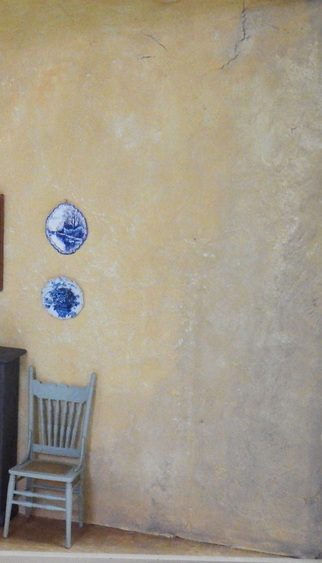
I patched up most of the cracks with filler. I painted the front walls with thinned down ASCP Arles, and aged it in the corners with ASCP Coco.
Aging the walls.
Working with the cracks!
What I’ve learned:
- Have all your equipment ready when you start.
- Once you start rolling out your clay, work fast to get the clay in place.
- Try to roll out the clay to the correct size, to prevent too many fragments.
- If you have to join two sections, thin down the edges by pressing down with your fingers. Smear some wood glue to the edge, and add new layer. Dip your finger in water, and smooth down the join.
- Always anchor the clay with glue, or it will lift up from the surface as it dries.
- Start texturing as soon as you are done.
- During that time, don’t answer the door/phone.
- Leave it to dry properly, before painting.
- If any cracks appear, use it as a feature (cracked walls can be desirable!), or repair it.
- Repairs can be done with wood filler, or fresh clay with lots of glue to anchor it.
Equipment:
- Das air dry clay
- Roller
- 2 pieces of 3mm woodstrip, to ensure that you roll the clay to the correct thickness.
- 2 silicone sheets
- Steel ruler to press down on clay, to cut straight edges.
- Small bowl with water
- Wood glue
- To add texture: Stencil brush, stones, sandpaper, etc. Experiment on a small piece of clay before you start.
